Standing in front of a beautiful view and taking a photo that looks flat and small on the screen is a common frustration. The scene felt huge, yet the picture feels like a postcard someone forgot to finish. Landscape photography is less about owning the right lens and more about learning to see light, depth and shape.
These landscape photography tips for beginners work with a phone, a compact camera or an interchangeable-lens camera. Start with one or two ideas on your next walk rather than trying everything at once.
1. Plan Around the Light
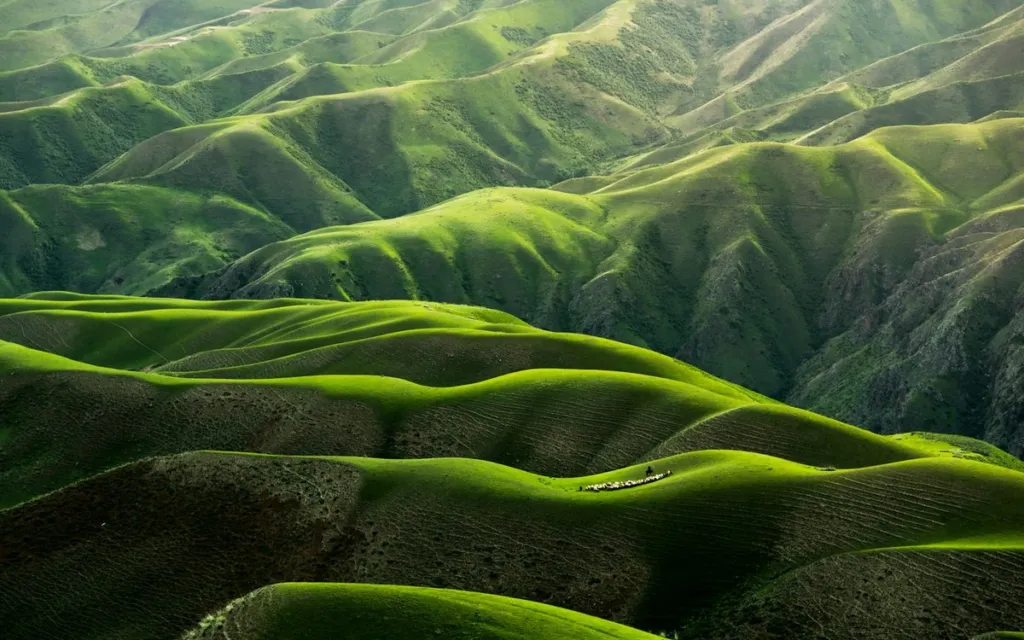
The same hill can look dull at noon and dramatic an hour before sunset. Photographers talk about the “golden hour”, the period shortly after sunrise and before sunset when the sun is low, light is warm and shadows are long. Long shadows reveal the texture of fields, rocks and hills.
The “blue hour”, the short window just before sunrise and after sunset, gives soft, cool tones that suit lakes, coastlines and towns with lights coming on. Overcast days are not wasted either: soft, even light suits forests, waterfalls and close-up details of leaves and moss.
Weather apps and sunrise and sunset calculators help you plan. Changing weather, such as clearing storms or morning mist, often gives the most interesting skies.
2. Build Depth Into the Frame
A landscape photo is a flat rectangle trying to show a deep space. You can create a sense of depth by including three layers:
| Layer | What to look for | Why it helps |
|---|---|---|
| Foreground | Rocks, flowers, a path, ripples in sand | Draws the viewer in and gives a sense of scale |
| Middle ground | A river, trees, a building, a field boundary | Connects the near and far parts of the scene |
| Background | Mountains, skyline, clouds, the horizon | Gives the picture its setting and atmosphere |
Getting low, sometimes crouching close to a foreground object, often turns an ordinary view into an image with real depth.
3. Use Simple Composition Guides
Place the horizon with intent
A horizon right through the middle can feel static. If the sky is the interesting part, give it about two thirds of the frame. If the land or water is more interesting, lower the sky to about one third. Turn on your camera’s grid to help, and keep the horizon level.
Follow leading lines
Roads, rivers, fences, shorelines and paths guide the eye through the picture. Lines that start near a bottom corner and lead toward the main subject are especially effective.
Look for a focal point
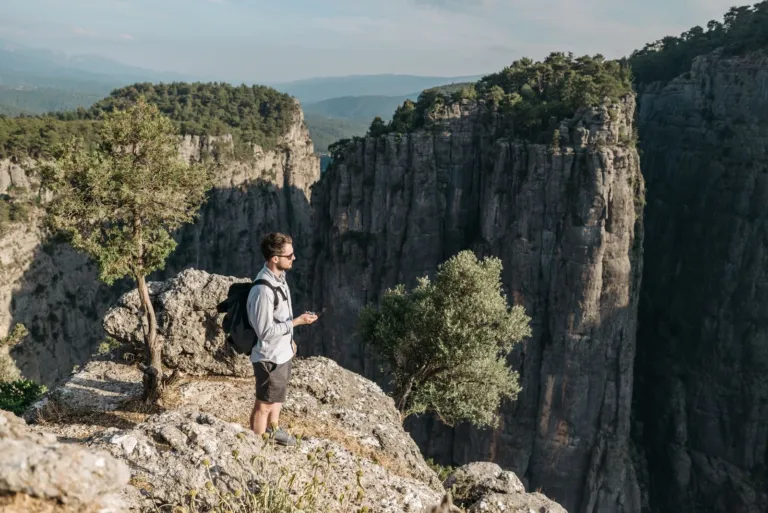
Wide views can feel empty without something for the eye to rest on. A lone tree, a cabin, a rock or a distant walker gives the picture a subject and shows how big the landscape is.
4. Keep Your Images Sharp
Soft, blurry landscapes are usually caused by camera shake or focusing in the wrong place. A few habits make a big difference:
Steady the camera. A tripod is useful in low light, but a wall, a rock or a rolled-up jacket also works. Use the self-timer so pressing the button does not shake the camera.
Focus a third of the way in. Focusing roughly a third of the way into the scene, rather than on the far horizon, usually keeps both the foreground and background acceptably sharp.
Choose a middle aperture. If your camera lets you set the aperture, a setting in the middle of the range, such as f/8 to f/11, is a sensible starting point for front-to-back sharpness on many lenses.
Watch the wind. On breezy days, wait for a pause or use a faster shutter speed so grasses and branches are not smeared.
5. Edit Lightly
A little editing can bring a photo closer to what you remember. Straighten the horizon, crop out distractions at the edges, and make small adjustments to brightness, contrast and colour. Phone editors and free desktop programs are enough to start. It is easy to overdo saturation, so step away and look again later; natural-looking colours usually age better than heavily boosted ones.
6. Stay Safe and Respect the Places You Visit
Chasing light can lead to early starts, late finishes and remote locations. Tell someone where you are going, check the weather and tide times, carry a torch, water and a charged phone, and stay on marked paths near cliffs and riverbanks. No photo is worth a risky step. Follow local rules, avoid trampling plants for a better angle, take your litter home and give wildlife plenty of space.
Keep Practising Close to Home
You do not need to travel far to improve. Returning to the same local park, beach or hill in different seasons and weather teaches you more about light than a single trip to a famous viewpoint. Over time you will start to predict when a scene will look its best.
Landscapes are only one side of photography. For pictures of friends and family, see our guide on how to take better group photos, or explore the full Photography category. For more practical guides across everyday topics, visit Rashywings.com.
Frequently Asked Questions
Can I take good landscape photos with a phone?
Yes. Modern phones handle landscapes well, especially in good light. Turn on grid lines, tap to set exposure on the brightest important area, hold the phone steady or rest it on something, and avoid heavy digital zoom, which reduces quality.
Do I need a tripod for landscape photography?
Not always. In daylight you can usually hand-hold the camera. A tripod becomes useful at sunrise, sunset and blue hour, or when you want slow shutter speeds for smooth water. A wall, rock or bag can work as a simple support.
What is the golden hour?
The golden hour is the time shortly after sunrise and shortly before sunset, when the sun is low in the sky. Light is warmer and softer, and long shadows show the shape and texture of the land. Its exact length depends on your location and the season.