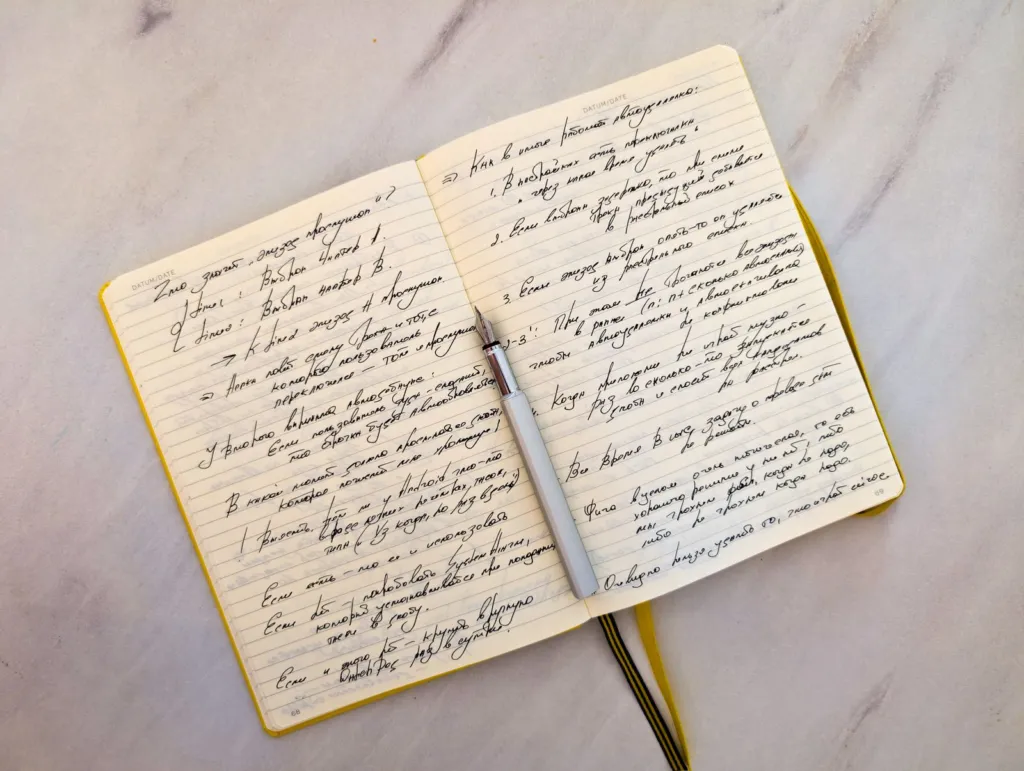
Most students write plenty of notes and then never look at them again until the night before an exam. The Cornell method fixes that habit by building review into the page itself. It was developed at Cornell University in the 1950s and is still taught in study-skills courses because it needs nothing more than a sheet of paper and a pen.
This guide explains how the page is laid out, what to write in each section and how to turn a finished page into a self-test you can use for weeks.
How the Cornell Page Is Laid Out
A Cornell page is split into three areas. You can draw the lines by hand in a few seconds, print a template, or set up a simple table in a note-taking app.
| Section | Where it sits | What goes in it | When you fill it in |
|---|---|---|---|
| Notes column | Right side, about two-thirds of the width | Main ideas, examples, diagrams and key terms | During the lecture or reading |
| Cue column | Left side, about one-third of the width | Questions, keywords and prompts | Soon after class, ideally the same day |
| Summary | Bottom of the page, a few lines high | Two to four sentences in your own words | After writing the cues |
Put the course name, date and topic at the top so pages are easy to sort later.
Step 1: Take Notes in the Right-Hand Column
During a lecture or while reading, write only in the large right-hand column. The goal is to capture ideas, not every word.
Keep it short
Use phrases instead of full sentences, and invent abbreviations you will recognise later. Leave a blank line between ideas so you can add details afterwards.
Mark what matters
When a speaker repeats something, writes it on the board or says it will appear on a test, mark it with a star or underline. Note examples too, because examples are often what help you understand an abstract point when you return to it.
Do not worry about neatness
The notes column is a working space. You will tidy and condense it in the next steps, so speed matters more than presentation.
Step 2: Write Cues in the Left-Hand Column
As soon as possible after class, read through your notes and write cues in the narrow left column next to each block of information. A cue can be:
- a question the notes answer, such as “What causes inflation?”;
- a single keyword or name that triggers the full idea;
- a prompt like “Compare A and B” or “Give two examples”.
Questions usually work best, because they turn the page into a quiz. Writing them also forces you to decide what each section of your notes is really about, which is already a form of review.
Step 3: Summarise at the Bottom
Close the page with a short summary written from memory where possible. Aim for two to four sentences that explain the main point of the session to someone who missed it. If you cannot write the summary, that is a useful signal: the topic is not clear yet, so revisit the notes, the textbook or your teacher before moving on.
Step 4: Review by Covering the Notes
This is the step that makes the method worth the effort. Cover the right-hand column with a sheet of paper, read each cue and try to answer it aloud or on scrap paper. Then uncover the notes and check yourself.
Testing yourself like this is far more active than rereading, and it shows you exactly which ideas still need work. Repeat the review a few days later, then again the following week. Short, spaced sessions tend to work better than one long session before an exam.
Adapting the Method to Different Subjects
The basic layout stays the same, but you can adjust what goes into each section:
- Maths and science: put worked examples in the notes column and the problem type as the cue, for example “How do I solve a quadratic by factorising?”.
- History and social studies: use dates, causes and consequences as cues, and keep a short timeline in the notes column.
- Languages: write new vocabulary in the notes column and the word in your own language as the cue, so you practise recall in the harder direction.
- Reading assignments: note page numbers next to key points so you can find quotes quickly when writing an essay.
If you are learning a language outside school, the same cue-and-cover idea fits neatly into a home routine; see our guide on how to learn a new language at home for a full weekly plan.
Digital or Paper?
Both work. Handwriting tends to slow you down just enough to make you choose what to write, which many learners find helpful. Digital notes are easier to search and reorganise. If you type, create a two-column table with a summary row underneath, and resist the temptation to transcribe the lecture word for word.
Common Mistakes to Avoid
- Skipping the cue column, which turns the method back into ordinary notes.
- Writing the summary days later, when the lecture has already faded.
- Making cues so detailed that they give away the answer.
- Reviewing only once, right before a test.
For more ways to plan, revise and learn, browse the education guides section.
Frequently Asked Questions
Is the Cornell method good for online classes?
Yes. Recorded lectures make it even easier, because you can pause to write cues and summaries. Keep the same three sections, and use the timestamp of the recording in the notes column so you can jump back to an explanation when you review.
How much time does the Cornell method add?
Writing cues and a summary usually takes ten to fifteen minutes per lecture. That time replaces some of the rereading you would otherwise do later, and the self-test it creates makes later revision faster and more focused.
Can I use the Cornell method for textbooks?
Yes. Read a section first without writing, then record the main ideas in the notes column, add questions as cues and finish with a short summary. Reading first helps you avoid copying the whole chapter.
What if my teacher talks too fast to keep up?
Leave gaps, write keywords and fill in details straight after class, from memory, the slides or a classmate. Agreeing on a set of personal abbreviations in advance also helps you keep pace.
Try the method for two weeks in one subject before deciding whether it suits you. You can find more practical guides on Rashywings.com.