Walking into a beauty aisle for the first time can feel overwhelming: hundreds of products, all promising something. The truth is that a small, well-chosen kit covers most everyday looks. Starting small also means you learn what you actually like before spending money on things you will never use. Here is a practical way to build a first kit, section by section.
This is general information, not medical advice. If you have sensitive skin, allergies or a skin condition, talk to a pharmacist or a qualified professional before trying new products.
Start With the Essentials, Not Everything
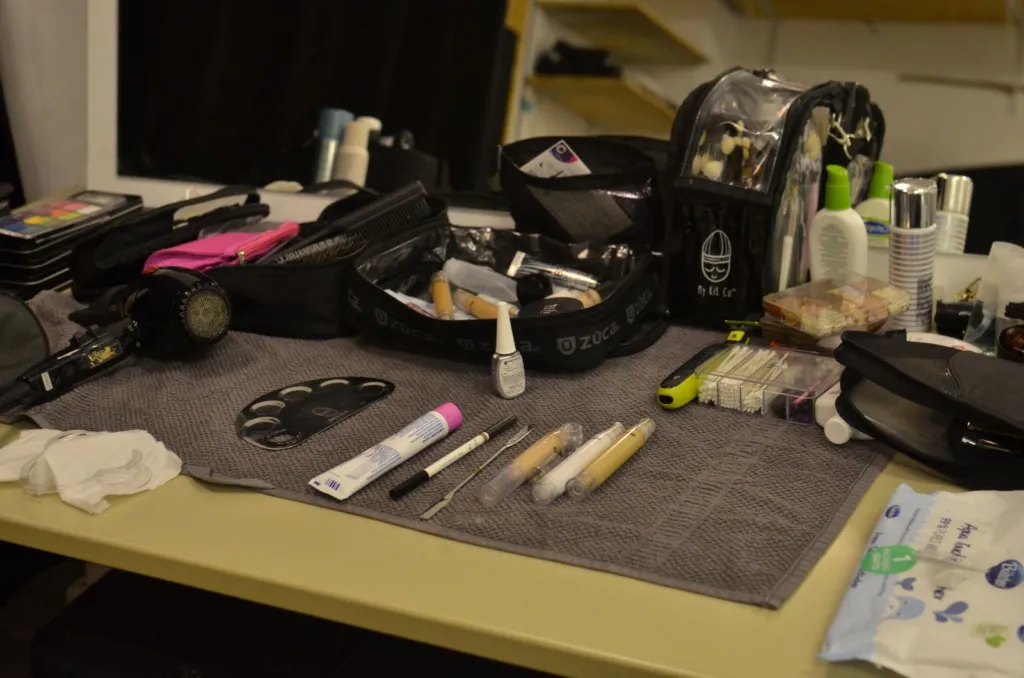
Think of your kit in layers: a base that evens out the skin, a few products that add definition and colour, and the tools to apply them. The checklist below is a starting point, not a shopping list you must complete.
| Category | Beginner essential | Why it earns a place |
|---|---|---|
| Prep | Moisturiser and daytime sunscreen | Makeup sits better on comfortable, protected skin |
| Base | Tinted moisturiser, skin tint or light foundation | Evens tone without a heavy feel |
| Coverage | Concealer | Targets small areas such as redness or under-eye shadows |
| Set | Translucent powder | Reduces shine where needed |
| Cheeks | Cream or powder blush | Adds warmth and life to the face |
| Brows | Brow pencil or tinted gel | Frames the face with very little effort |
| Eyes | Mascara and a small neutral palette | Covers both natural and evening looks |
| Lips | Tinted balm and one lipstick you love | Easy everyday colour plus one bolder option |
How to Choose Base Shades
Getting the base right makes the biggest difference to how natural makeup looks.
Check undertone as well as depth
Depth is how light or deep your skin is; undertone is the warm, cool or neutral hue beneath. Many brands label shades with letters or words for undertone. Looking at whether gold or silver jewellery suits you better is a common, if rough, starting point.
Test on the jawline in daylight
Swatch two or three shades along your jaw and check them near a window. The right one seems to disappear into your skin. The back of the hand is a different colour from the face, so it is not a reliable test.
Ask for samples
Many shops offer small samples. Wearing a product for a full day shows how it looks after a few hours, not just in the first minute.
Tools: Fewer, Better Choices
You do not need a large brush set to start. A few versatile tools are enough:
- a damp makeup sponge or a dense brush for blending base;
- a fluffy brush for powder and blush;
- a small concealer or detail brush;
- a fluffy eyeshadow brush for blending;
- a spoolie for brows;
- a pencil sharpener for liners and brow pencils.
Clean fingers also work well for cream products. Whatever you choose, tools need regular washing; our step-by-step guide on how to clean makeup brushes and sponges explains how.
A Five-Minute Everyday Routine
- Moisturise and apply sunscreen, then wait a minute or two.
- Apply a thin layer of base where you need it most, blending outward.
- Dot concealer on small areas and tap gently to blend.
- Powder only the areas that get shiny, usually the centre of the face.
- Add blush, brush up your brows, apply mascara and finish with lip balm or lipstick.
Practise this a few times before experimenting with eyeliner or contour. Once the basics feel easy, adding one new technique at a time is much less frustrating.
Simple Ways to Switch Up the Look
The same small kit can take you from a weekday look to an evening one without buying anything new:
- Press a darker shade from your neutral palette along the upper lash line as a soft liner.
- Build up blush in thin layers for a brighter, more noticeable flush.
- Swap the tinted balm for your bolder lipstick and keep the rest of the face simple.
- Add a second coat of mascara once the first has dried.
Small changes like these teach you how each product behaves, which makes future buying decisions much easier.
Storing Your Kit and Keeping It Fresh
Store makeup at room temperature away from direct sunlight, with lids closed tightly. Most products carry a symbol of an open jar with a number such as “6M” or “12M”, which shows how many months the product is meant to last after opening. Mascara and liquid eye products are usually replaced most often. Throw away anything that changes smell, colour or texture, and never share eye products.
Spend Wisely
If your budget is limited, prioritise the products you will use every day, such as base and concealer, and choose affordable options for experimental colours. Avoid buying multiple versions of the same thing until you have used up the first.
Find more ideas in our beauty guides.
Frequently Asked Questions
What is the first makeup product a beginner should buy?
Many beginners start with a concealer or a tinted base, because evening out small areas makes the biggest visible difference. Mascara and a tinted lip balm are other easy first choices.
Do I need primer?
Not necessarily. A good moisturiser often does the same job for everyday wear. Primer can help makeup last longer in heat or on very oily skin, so add it later if you notice your base fading.
How do I know when to throw makeup away?
Check the open-jar symbol on the packaging for the recommended months after opening. Also replace any product that smells odd, separates or changes texture.
Start with a handful of products and add to your kit slowly. You can find more practical guides on Rashywings.com.